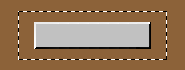
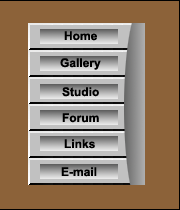
Select the button with the marquee tool like shown. Now hold down Alt-Ctrl-Shift
and click on your button and drag down a copy of it right underneath and let go.
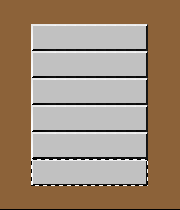
Continue this until you have multiple buttons or enough for your needs.
Try and make sure every copy you make is evenly spaced underneath so it will all
match right. If you mess up, then hold down Alt-Ctrl-Z to undo your last step.
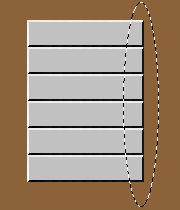
Make a New Layer and call it "Cut Edge". Now with the Oval Marquee Tool make
a tall oval shape on the Right side of your interface like shown. Select the
Linear Gradient Tool. Press "D" and "X".
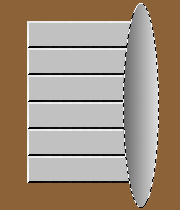
Hold down shift and fill the Oval Marquee in, start from the Right and then
drag to the left, go a little past the marquee like I have.
Ok read this carefully. Hold down the Ctrl. key and click on the Buttons layer
to select it. Now Invert Selection: Shift-Ctrl-I. Now press the Delete key to
erase the outer area we don’t want on the Cut Edge layer. It should look close to mine.
Make a new layer, name it "Button Inset" if you like. With the rectangular
marquee tool, make a small rectangle inside the top button. Make sure your
foreground is white and fill it from bottom to top with the linear gradient.
Ok once more, hold down Alt-Ctrl-Shift and drag down copies of the inner button you made. Continue until down until complete.
You're done.